Drawing Our Pets
My Cat Sam-Meow-Well
There is no denying that as a nation we are animal lovers. We adore nature and wildlife, we watch documentaries on animals in other countries and we even invite them into our home and become part of our family.
 |
| Sam Meow Well, catching 40 winks |
This is my bundle of fur, or as he likes to be called "The Boss of the House". I had him when he was just a kitten and from the moment I brought him home he meowed for days on end.
When I come home from work he meows "Hello!",
when he was hungry he meows "Feed me!"
and when he came in from his night-time prowling he meows "Pay attention to me!" even though I am still asleep.
Because he makes himself known to me at every waking hour, it was only a matter of time before I started painting pictures of my little fur-baby.
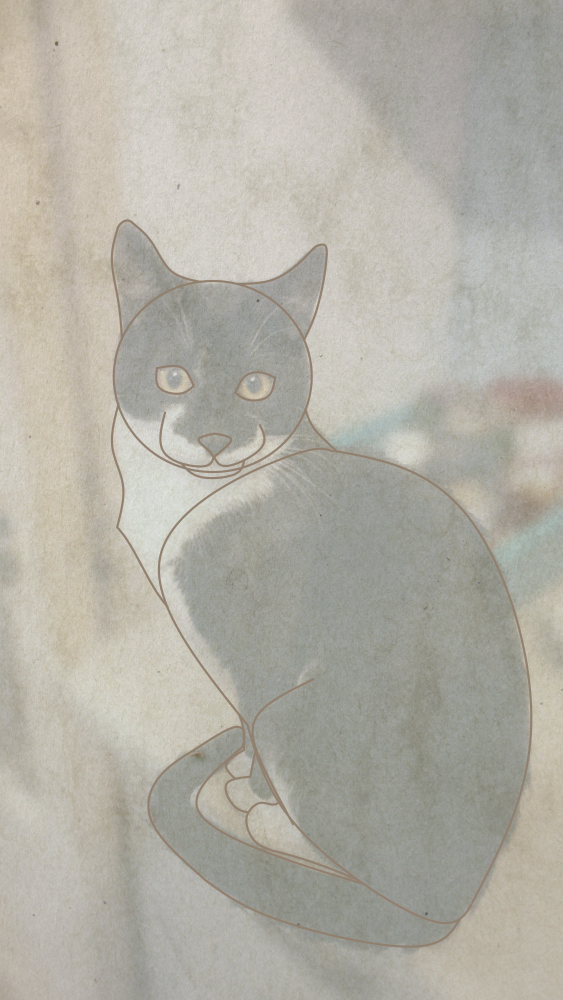
 |
| 'Samcat' Watercolour and Ink, 2018 |
And, following this guide, you too will be able to draw your very own cat. It is suitable for all ages and artistic ability and all you will need is:
- A photo of your pet
- A piece of paper
- A pencil
- Colouring materials

I started by taking a photo of Sam when he was standing still (a very difficult task if your cat is as energetic as mine). You could bribe them to stay still with some treats on the floor or quickly capturing a picture when they are having some cuddles.
You can then use this photo as a reference to draw them or print it out and trace over their details.
When drawing, it is important to press lightly with the pencil, as these lines can be rubbed out later to make your drawing look like really good.
Step 1

For the first step you will want to draw a big circle around the entire cats head.
They have very fluffy fur and it makes almost a perfect round ball.
Then on top of that, draw two wonky triangles for their ears. If you imagine a face of a clock, the ears are positioned about the 11 and 1.
Step 2

Using the circle as a template draw a sideways number 3 for their jowls.
A little triangle for their cute nose
and a little c joining between the tips of the 3 for their lower jaw.
This is probably the most difficult step, so if you are happy with it then a big congrats!
Step 3

Next is a nice and easy step and where you can let your own personal style take over - the eyes.
They say the eyes are the window to the soul and cats have huge round eyes that come in all wonderful colours.
You can choose to draw them as circles, or like I have, slightly squash them so they look more like ovals.
Step 4

Now we will draw the body. And for this I like to think of him as a bean-bag.
Sam, is in the sitting position, but you cat might be laying down or standing up or any number of weird positions cats get into in their day-to-day life.
When drawing the body look for distinct shapes.
I used the curve of the back as the starting point and wiggled my way around his body until he looked like a sack of potatoes (sorry Sam!)
Step 5

Next we will join up the body and the head using some lines for their neck.
If your cat is sitting like mine, then you might notice they have a prominent chest hair that sticks out to a point.
This tends to be hidden when they are laying on their back though.
Step 6

Now for another prominent part of a cat, their tail.
Whether they are swishing it around, trying to catch it or simply tucking their paws underneath it. They are proud of their fifth appendage.
To draw the tail you can just draw a single line in the shape of a tail and then draw some more lines around it to thicken it up a bit and make it look like a tube.
Step 7
Next we will draw their little murder-mittens.
As any cat owner will tell you, these hide their razor sharp claws. But just looking at them, they are so fluffy and round. Quite deceiving!
We can draw these as circles at the end of their legs. In my picture their are mostly hidden by his bean-bag body, but yours may look different. Still you cannot go wrong with circles and ovals for their paws and two lines for each leg.
Step 8

In my painting I decided to add a moon in the background. This not only adds a different colour to the piece, but also suggests where to look. I wanted to the viewer to look into his beautiful eyes before anything else.
For this we can use a saucer or small plate. But if you want to leave this out, or change the shape to something else you can.
Step 9

The last but one step is to rub out all the overlapping lines.
This will neaten up your drawing ready for the final step.
During their step you can also draw over your lines with a pen. This will make them stand out after it is coloured in, like I did with mine.
You are almost there. How does your little fur-baby look?
Step 10
You now have your final pencil (or pen) drawing in front of you. This is when things start getting really exciting.
PAINT!!!!
Let your creative juices flow!
You can use what ever type of material you want: watercolours, acrylics, oils, felt pens, colouring pencils, crayon, charcoal, digital, glitter glue. You can draw a really big one and glue on sea shells or twigs. Let your artistic talent take hold and go wild.
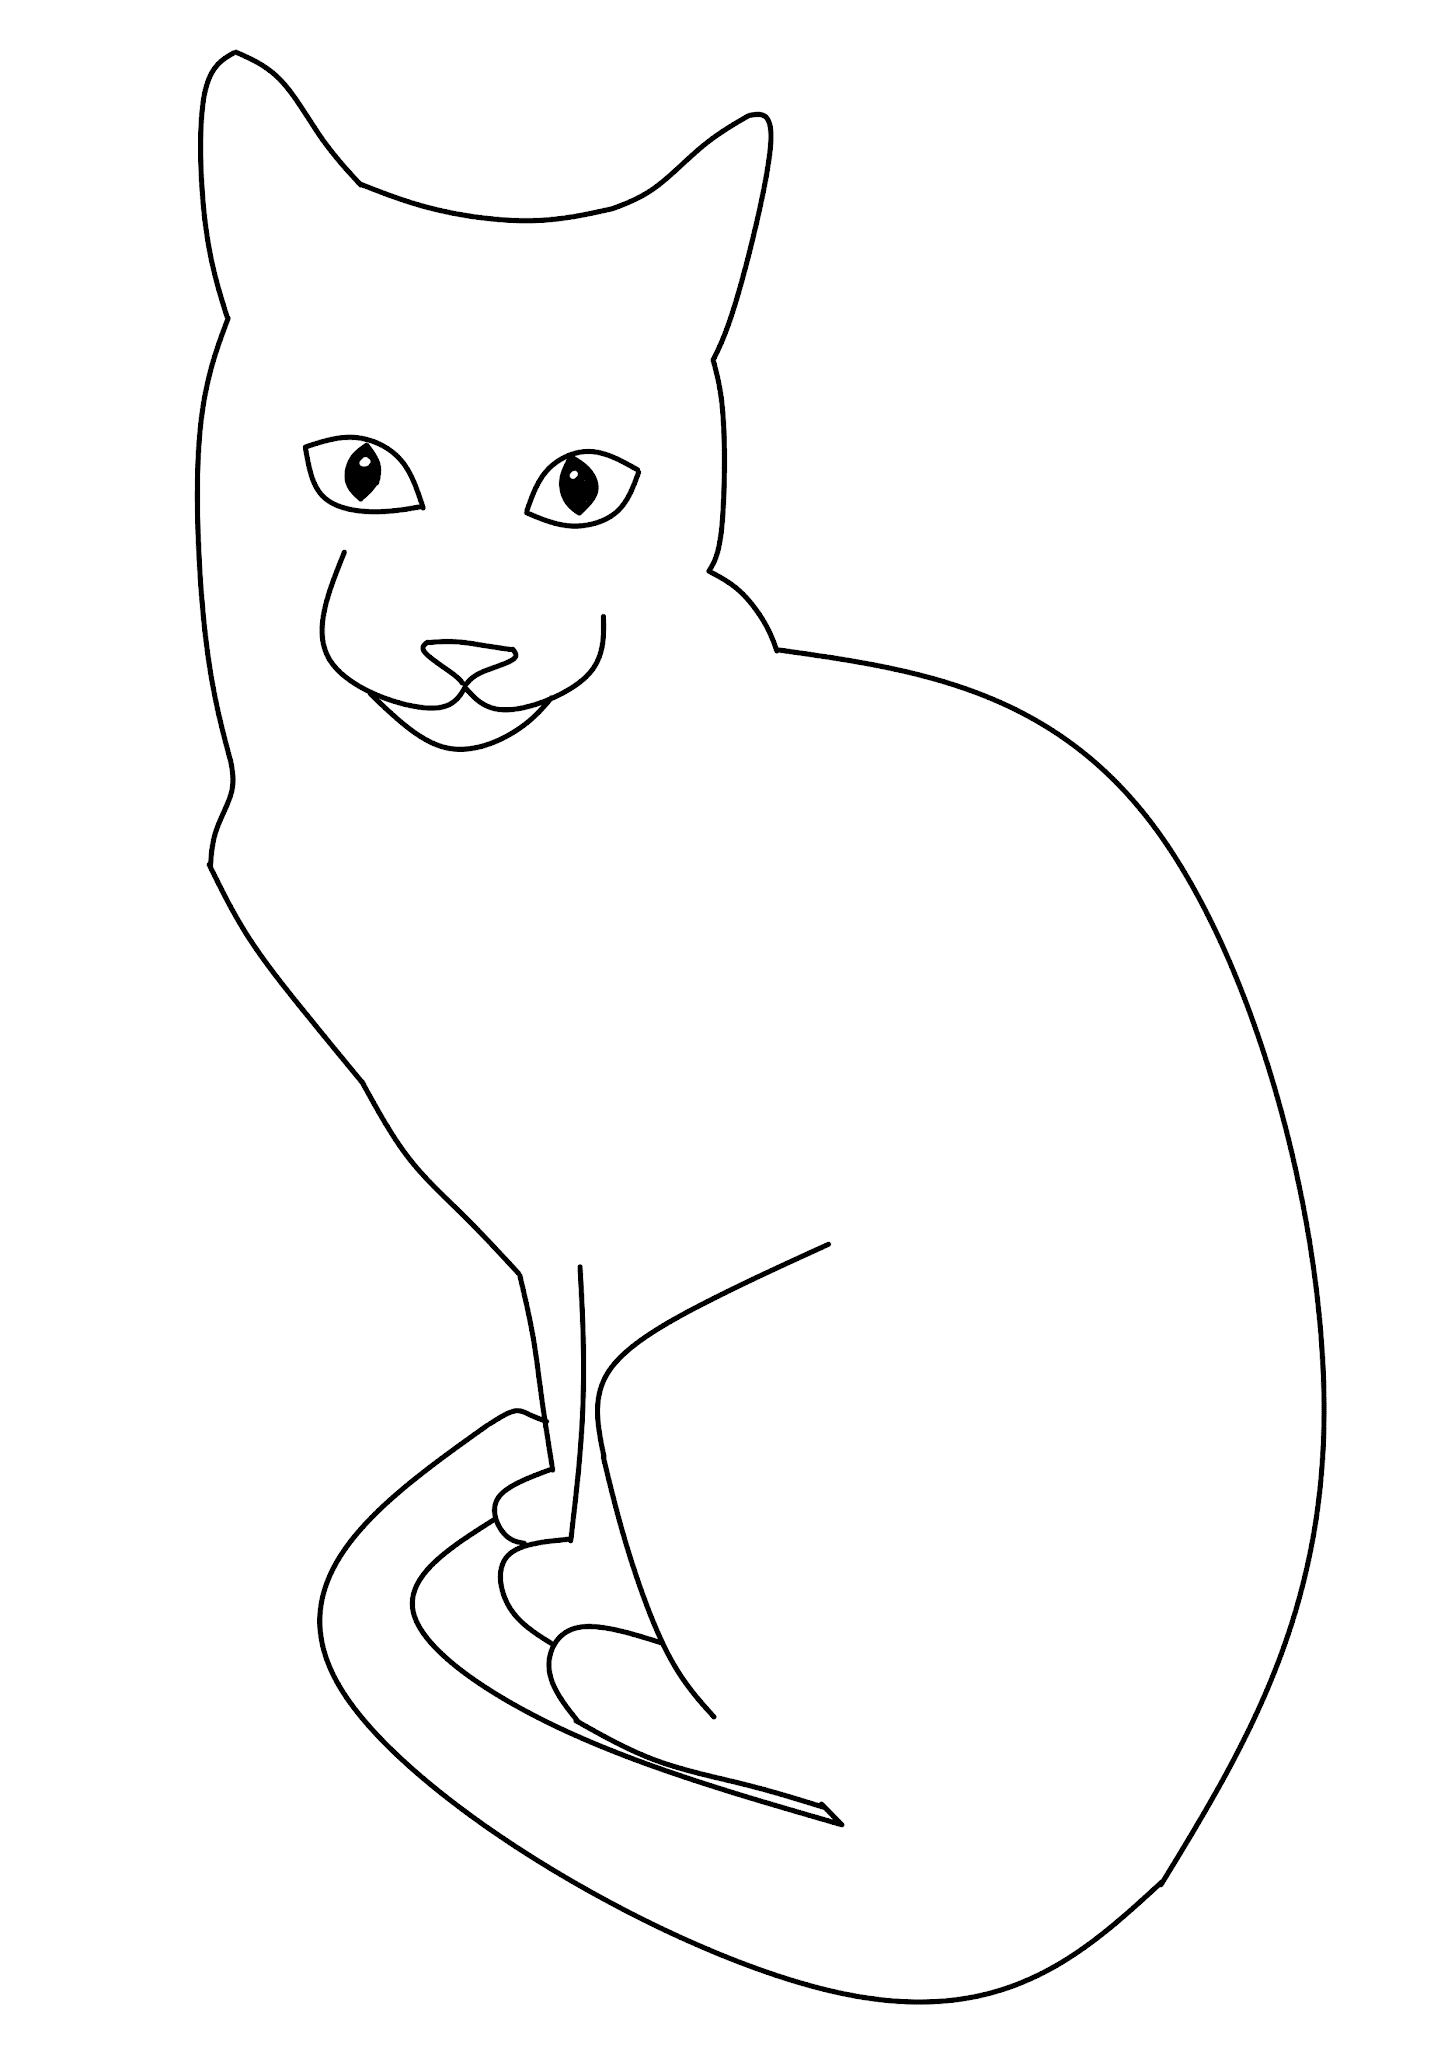
If you are having trouble drawing your own pet, or just want to do a couple of trials with different colour. I have included a picture of my cat below as a black and white drawing.
You can also click here ---> Link
This is a higher quality picture which you can print out as an A4 page to colour in.
Conclusion
I hope you enjoyed my quick tutorial on drawing your cat and I would love to see your artwork.
Pets are wonderful creatures that bring life and love into our homes so why not make a painting just for them. They deserve it!
Written and Published
by
Kevin Broome
0 comments:
Post a Comment